

This is a method that I have been doing this year, it seems to be working pretty successfully, I was even able to go out of town for the weekend and not have to worry about my plants while I was gone, I don’t do this often, but was pleased to see the results from it when I got home. I have noticed that my plants are greener, the stalks are bigger and they are happier all around, the one great thing about gardening is that you can keep trying new things and figure out what works and get better at it each year. Hopefully you have read my blog on starting seeds and have started yours so we can move on to the next step of transplanting into the cups.
Things you will need:
A good potting Soil mix
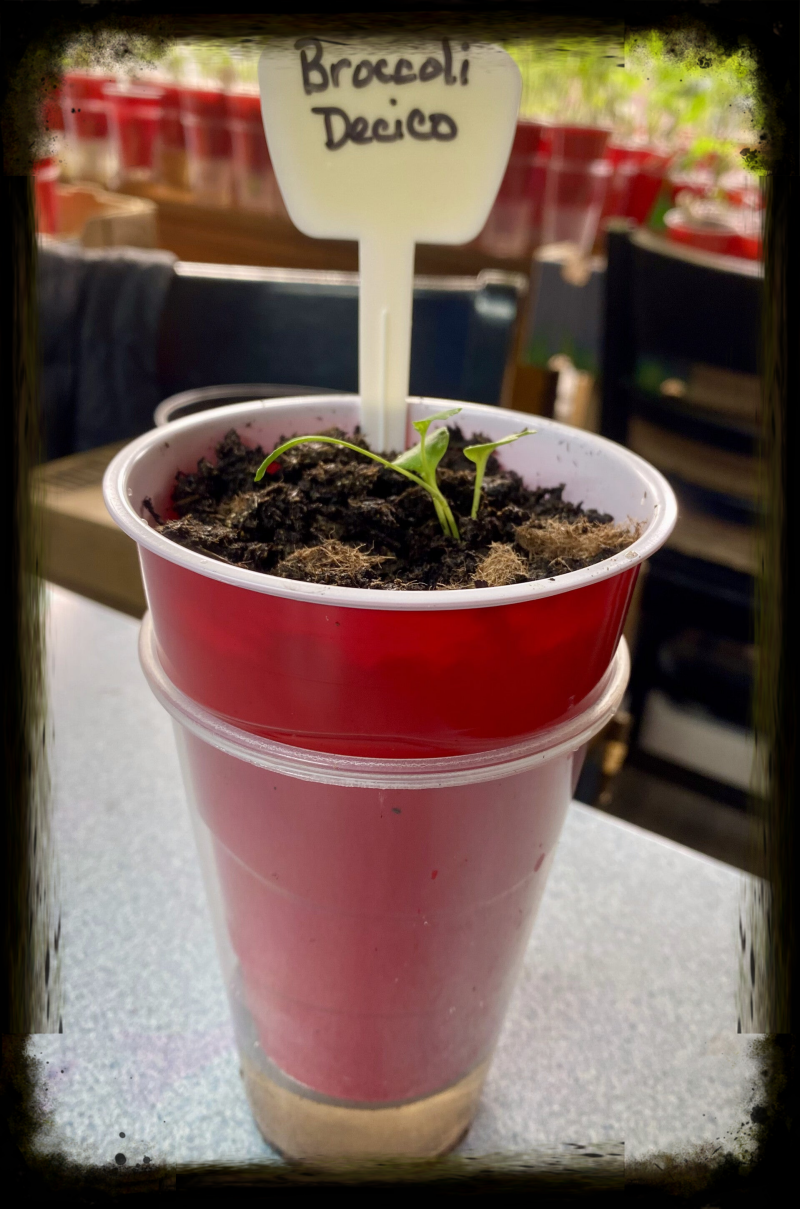
1 pkg. 16 oz solo cup any color
1 pkg. 16 oz clear solo cups
A sharp knife for cutting the holes in the bottom of the cups
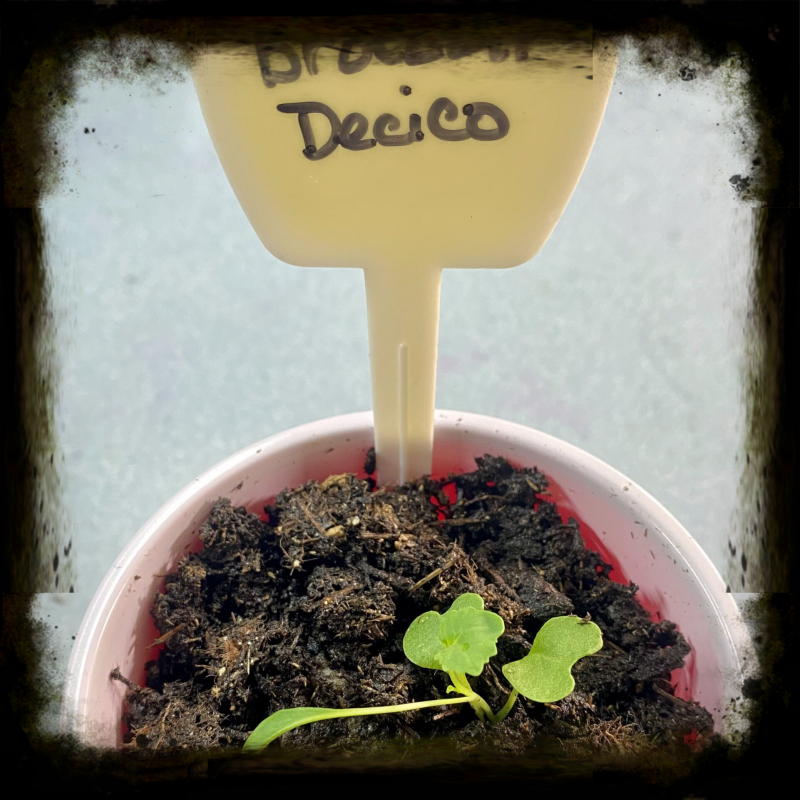
Garden markers
A large container or something to mix the soil in
Water
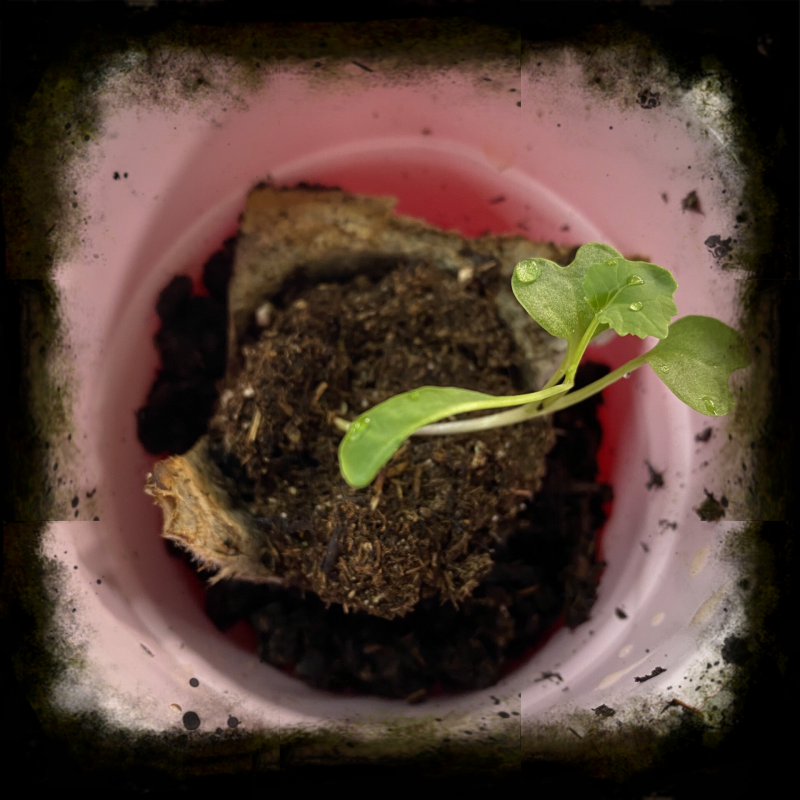
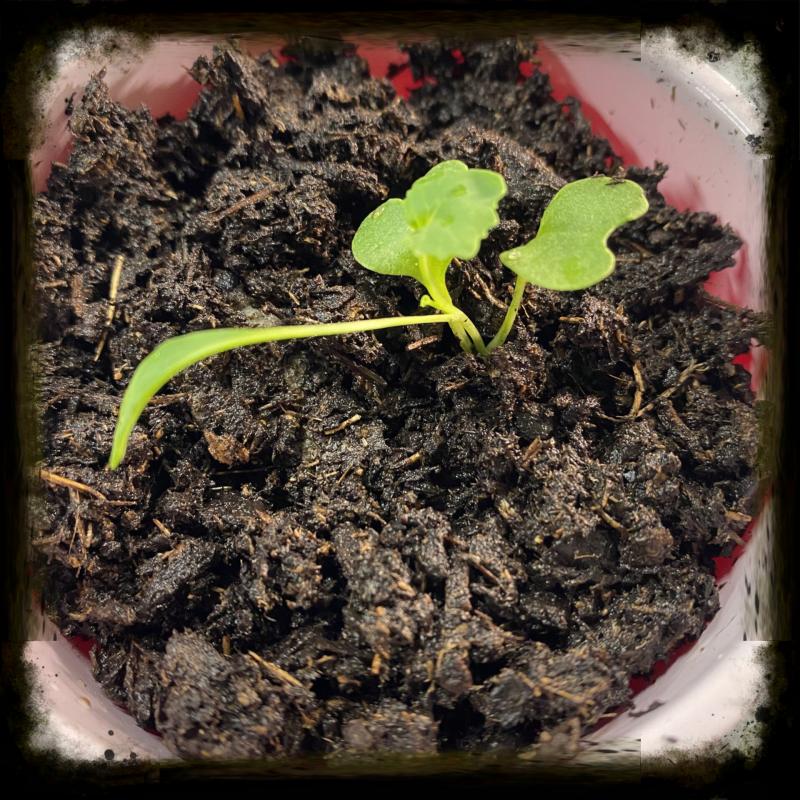
Most seedlings are ready to up pot when they reach 1.5 to 2 inches, with tomatoes, peppers and brassicas you can tell by what they call true leaves, the leaves that are jagged, if they are not mature enough they won’t make it, if you let them go to long they can get root bound and have a harder time adjusting to the new home.
I like to use organic potting soil, not all potting soils are the same, usually the more expensive it is the better it is. Start by putting the potting soil in the container, leave enough room to mix the soil with the water, the ratios are usually on the package directions. The soil should be moist but not drenched.
The cup sizes are important, you don’t want them to stack perfectly inside each other, you want the top cup to be at least an inch above the bottom of the other cup. Use the sharp knife to cut holes about the size of peas or a little larger in the bottom of the colored cups, leave the clear cups as is.
Fill the cup with the holes 3/4 the way full of soil, if you have been using the peat pellets or the egg cartons, lower them egg cup or peat pellet and all straight into the cup, I like these methods because you don’t have to disturb the roots and they both break down into the soil. Add some soil around the top of the seedling, leave enough room to top off with 1/4 inch of some coco coir, adding this prevents any fungus from growing in your seedlings soil. Fill the clear cup to where it is barley touching the bottom of the seedling cup, and give it about 2 tablespoon of water on top to tamp down the soil a bit, it is best to water from the bottom just don’t let the water go above the seedling cup as it will get waterlogged, keep them filled in the bottom until you are ready to plant them outside or into bigger containers. Dont forget to mark your plants!
I may add or change things to this as time goes on since this is the first year to try it for myself.
Blessings to you and your garden!
Disclaimer: In the name of full transparency, please be aware that this blog post contains affiliate links and any purchases made through such links will result in a small commission for me (at no extra cost for you).

Add comment
Comments